How the printing kiosk works
From scanning the QR code to holding the print takes about a minute. Here is each step, and what happens when something goes wrong.
- Scan the QR code on the kiosk. It opens the print page in the phone's browser. There is no app to install and no account to create.
- Upload a file. PDF, DOCX, PPTX, PPT or images, up to 50 MB. The customer enters their name and mobile number, so the print is theirs.
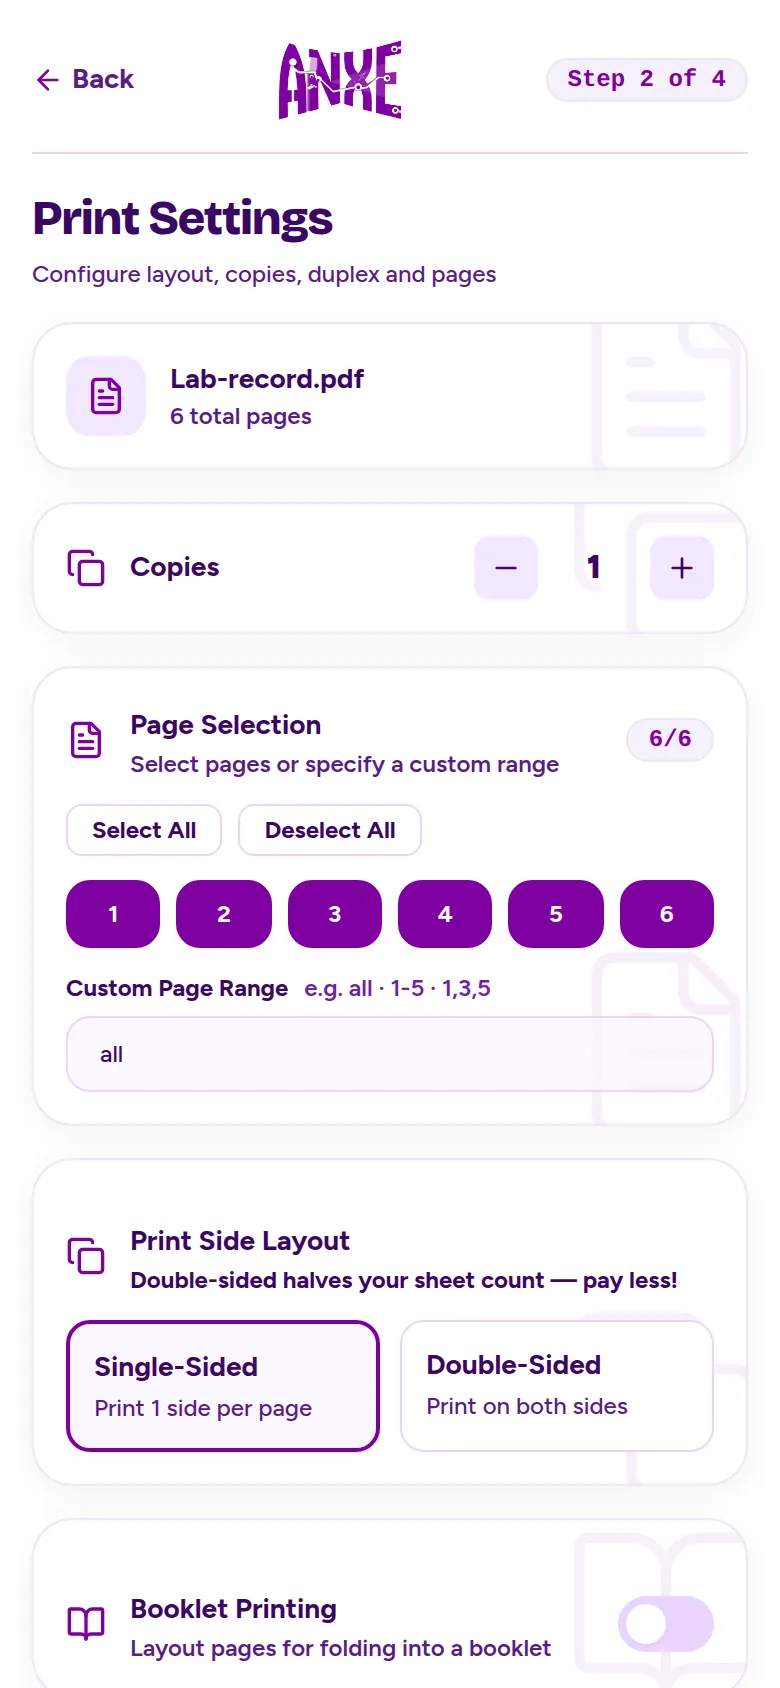
- Set it up and see the price. Choose copies, which pages to print (for example 1-5 or 1,3,5-8), single or double sided, how many pages per sheet (1, 2, 4, 6 or 9), or a booklet layout. A preview shows what will print, and the total updates as the settings change.
- Pay. Checkout is by UPI or card, through Razorpay. A coupon code can be applied before paying.
- Watch it print. The kiosk screen shows the job live and the phone shows its place in the queue.
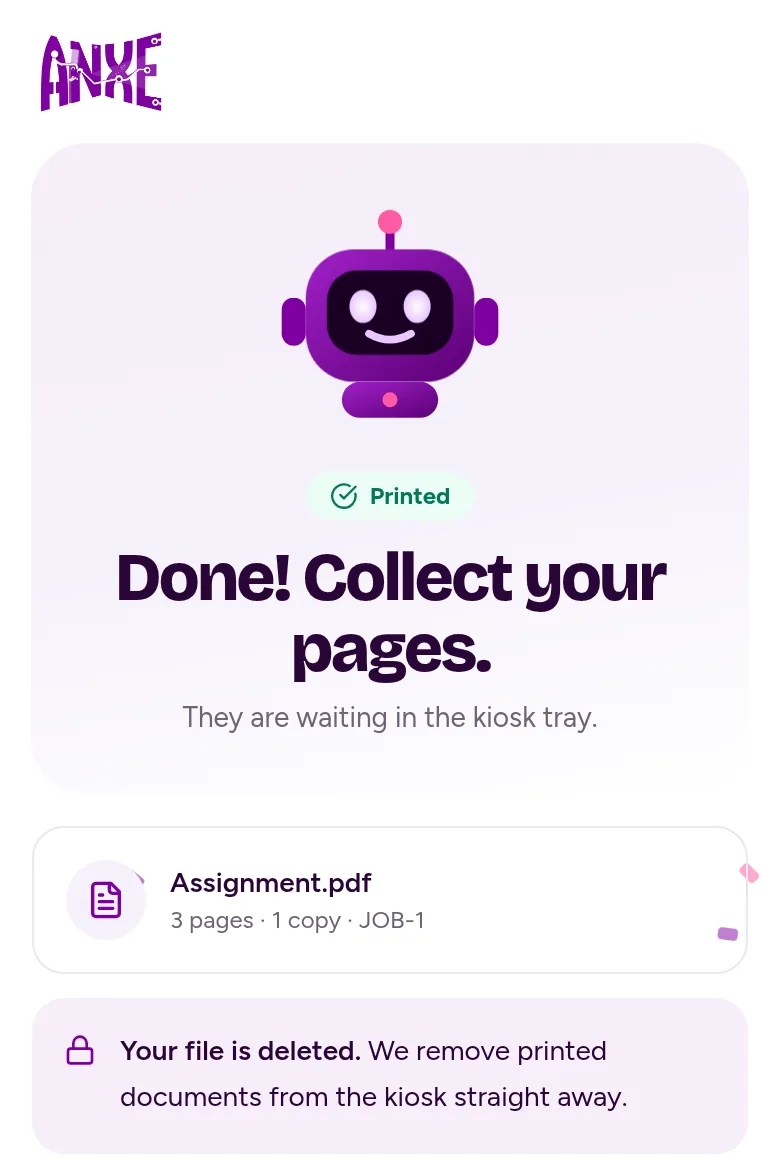
- Collect. The phone says Done! Collect your pages and the print is waiting in the tray. The file is removed from the kiosk straight away.
What the kiosk screen shows
The screen on the kiosk is not touched. It shows the QR code to scan, the status of the job that is printing, and your own ads when it is idle. Everything the customer does happens on their phone.
If something goes wrong
The printer is offline
The print page checks the printer first. If it is down, customers are told before they upload or pay.
The tray runs out of paper
The kiosk keeps a paper count and will not take an order bigger than the paper left. If the paper runs out, printing pauses and the owner gets an alarm on their phone.
The power goes off mid-print
Interrupted prints continue by themselves when the power is back.
A print does not come out right
The owner can reprint it, mark it as printed, or refund the customer from the owner app.
See everything the owner can do in the owner app.
Want a kiosk where you are?
Tell us the place and the city. It takes a minute, and we will call you.